Taking care of your ATV shocks is important to make sure your off-road rides are smooth and safe. Sometimes, you might need to remove the spring from your ATV shock for different reasons, like checking it, cleaning it, or putting in a new one.
But be careful! Removing the spring is a delicate job that needs to be done right to keep you safe and avoid damaging the shock. In this simple guide, we’ll show you step-by-step how to remove a spring from your ATV shock.
This article will let you have the knowledge and confidence to do it yourself. Just remember, always put safety first and consult your ATV’s manual if you need specific instructions for your model. Let’s get started!
How To Remove Spring From ATV Shock
Gather the Necessary Tools and Equipment
Gathering all the tools and equipment you’ll need before you dive into removing the spring from your ATV shock is important. This preparation will save you time and make the process easier. This is the list of the tools and equipment you’ll need to remove the spring from the ATV shock:
- Wrenches
- Socket Set
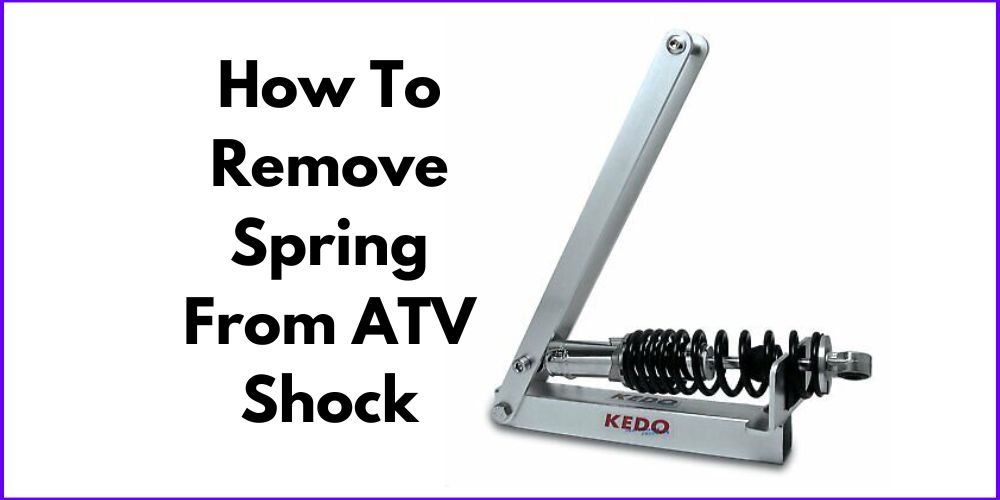
- Spring Compressor
- Safety Goggles
- Gloves
Prepare the ATV for Spring Removal
Getting the ATV ready is important before you begin taking out the spring from your ATV shock. Doing this will keep you safe and make the process easier. Here’s what you need to do:
- Find a Flat Surface: Park your ATV on level ground that doesn’t have any bumps or slopes. This will help you work without any problems.
- Support the ATV Firmly: Use strong jack stands or blocks to lift and support your ATV. This will keep it steady and prevent it from moving or falling while you work on it.
- Wear Safety Gear: Wear safety goggles to protect your eyes from dirt or small pieces that might fly around. Also, wear gloves to protect your hands from sharp edges or injuries.
Identify the Shock and Spring
To proceed with removing the spring from your ATV shock, it’s essential first to identify the shock and the spring itself. This will help you understand the components involved and where to focus your efforts. Here’s what to do:
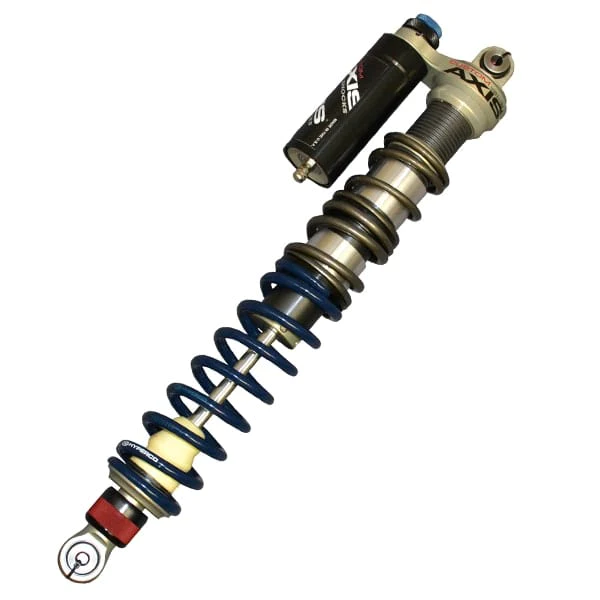
- Locate the Shock: Take a look at your ATV and find the shock absorber. It is typically a cylindrical or tubular component attached to the frame and the suspension system
- Recognize the Spring: Once you have identified the shock absorber, locate the spring connected to it. The spring is a coiled metal component that supports and absorbs impacts during ATV rides.
- Note Attachment Points: Observe where the spring is connected to the shock absorber and the other parts of the ATV. This will vary depending on the ATV model, but commonly, the spring will be attached to the shock at the top and bottom.
Disconnect the Shock Absorber
Now that you’ve identified the shock and spring, it’s time to disconnect the shock absorber from the ATV frame. This step is crucial to gain access to the spring for removal. Follow these steps:
- Locate the Mounting Bolts: Identify the bolts securing the shock absorber to the ATV frame. There are usually two bolts, one at the top and another at the bottom.
- Use the Proper Tools: Depending on the type of bolts used, select the appropriate wrench or socket size to loosen them. Ensure a firm grip on the tool to avoid slipping.
- Loosen and Remove the Bolts: Carefully loosen the bolts, turning them counterclockwise. Once loose, continue unscrewing them until they can be completely removed.
- Detach the Shock Absorber: The shock absorber will be free from its mounting points with the bolts removed. Gently slide it out or wiggle it free from the frame.
- Secure the Shock Absorber: After removing the shock absorber, set it aside in a safe place to avoid any damage or interference while working on the spring.
Securely Compress the Spring
Once you have detached the shock absorber, securely compressing the spring before proceeding with its removal is the next thing. Compressing the spring will reduce tension and make it easier to remove safely. Follow these steps to compress the spring:
- Position the Spring Compressor: Place the spring compressor on the spring, ensuring that it is positioned securely and centered. Make sure the compressor’s hooks or clamps are properly aligned with the coils of the spring.
- Tighten the Spring Compressor: Gradually tighten the spring compressor, applying even pressure on both sides. Use a wrench or ratchet to turn the compressor’s screw or adjust the clamps. Continue tightening until the spring is sufficiently compressed.
- Check the Compression: While compressing the spring, periodically check to ensure it is compressed evenly and remains centered. This will prevent any potential issues or misalignment during the removal process.
- Verify Security: Double-check that the spring compressor is securely attached and the spring is tightly compressed. This step is crucial for your safety and the effectiveness of the spring removal process.
Remove the Spring
With the spring securely compressed, you can now proceed to remove it from the shock assembly. Follow these steps carefully to ensure a smooth and safe removal process:
- Inspect the Spring: Before proceeding, take a moment to visually inspect the spring for any signs of damage or wear. If you notice any significant issues, it may be necessary to replace the spring entirely.
- Loosen the Spring Tension: Begin by slowly releasing the tension on the spring compressor. Turn the screw or loosen the clamps gradually to relieve pressure from the spring. Take your time to ensure a controlled and gradual release of tension.
- Remove the Spring: After fully releasing the tension, carefully slide the spring off the shock assembly. Pay attention to the hooks or clamps of the spring compressor to prevent any unwanted spring movements or sudden release.
- Inspect the Shock Assembly: With the spring removed, take a moment to inspect the shock assembly for any signs of damage, leaks, or excessive wear.
Inspect and clean
After removing the spring from the ATV shock, inspecting and cleaning the components thoroughly is important. This step will help identify any damage or wear and ensure optimal performance. Follow these steps to inspect and clean the shock assembly:
- Examine the Shock Absorber: Carefully inspect the shock absorber for any signs of damage, such as leaks, dents, or worn-out seals. Check the mounting points for any loose or damaged parts.
- Clean the Shock Absorber: Use a clean cloth or a soft brush to remove any dirt, debris, or grime from the shock absorber. Pay close attention to hard-to-reach areas and crevices. For stubborn dirt, you can use a mild soap solution and water.
- Check the Spring: Inspect the removed spring for any signs of damage, such as cracks, fractures, or uneven wear. If the spring shows significant wear or damage, replacing it with a new one may be necessary.
- Clean the Spring: Like the shock absorber, clean the spring using a cloth or brush to remove dirt or debris. Ensure that all the coils are free from buildup, which can affect their performance.
- Lubricate if Needed: Depending on your ATV’s specifications, you may need to apply a thin layer of lubricant to the shock absorber’s moving parts. Check your ATV’s manual for specific lubrication recommendations.
Reinstall or Replace the Spring
After inspecting and cleaning the shock assembly, you have the option to either reinstall the existing spring or replace it with a new one. Follow these steps to proceed:
- Reinstall the Existing Spring: Ensure the spring is clean and free from any debris or dirt. Then, align the spring with the shock assembly, making sure the hooks or clamps are properly positioned. Carefully slide the spring back onto the shock assembly, ensuring it sits securely in place. Also, check that the spring is centered and properly aligned with the mounting points.
- Replace the Spring: If you’ve decided to replace the spring, ensure you have the correct replacement spring suitable for your ATV model. Align the new spring with the shock assembly, matching the hooks or clamps to their respective positions. Slide the new spring onto the shock assembly, ensuring a secure fit and proper alignment. Verify that the new spring is centered and aligned correctly with the mounting points.
- Double-check Installation: Regardless of whether you’re reinstalling the existing spring or replacing it with a new one, double-check that the spring is securely attached to the shock assembly. Ensure there is no excessive play or movement.
- Reattach the Shock Absorber: Follow the reverse process of disconnecting the shock absorber to reattach it securely to the ATV frame.
Reassemble the Shock Absorber
Now that you have reinstalled or replaced the spring, it’s time to reassemble the shock absorber and complete the process. Follow these steps to reassemble the shock absorber:
- Align the Shock Absorber: Position the shock absorber in alignment with the mounting points on the ATV frame. Ensure that it is correctly oriented and facing the right direction.
- Insert and Tighten Mounting Bolts: Insert the mounting bolts through the shock absorber and into the designated holes on the ATV frame. Start threading the bolts by hand to ensure they are properly aligned. Then, use the appropriate wrench or socket to tighten the bolts securely. Ensure they are tightened to the manufacturer’s recommended torque specifications.
- Check for Proper Alignment: Once the mounting bolts are tightened, visually inspect the shock absorber to ensure it is properly aligned with the ATV frame. Verify that there is no excessive play or misalignment.
- Reconnect Additional Components: If any additional components were disconnected during the process, such as brackets or connectors, reattach them securely. Ensure they are properly aligned and tightened to maintain the integrity of the shock assembly.
- Conduct a Final Check: Double-check all the connections, bolts, and components to ensure everything is secure and properly reassembled. This step is crucial for your safety and the overall performance of the ATV.
Test and Adjust
After reassembling the shock absorber and completing the spring removal process, testing and adjusting the ATV’s suspension is important to ensure optimal performance. Follow these steps:
- Test the Suspension: Take your ATV on a smooth surface for a short test ride to assess the suspension’s behavior. Pay attention to how it handles bumps, turns, and various terrain conditions. Note any abnormalities, such as excessive bouncing, bottoming out, or instability.
- Make Adjustments if Necessary: If you observe any issues during the test ride, it may be necessary to make adjustments to ATV’s suspension settings. Consult your ATV’s manual for guidance on adjusting the suspension. Common adjustments include adjusting the preload, compression damping, and rebound damping to achieve the desired ride characteristics.
- Gradually Fine-tune the Suspension: If adjustments are needed, make incremental changes to the suspension settings and test the ATV again. Take note of each adjustment’s impact on the ride quality and make further adjustments as necessary. Continue this process until you achieve a balanced and comfortable suspension setup.
- Seek Professional Assistance if Needed: If you’re unsure about making suspension adjustments or if the issues persist despite your efforts, it’s recommended to seek assistance from a professional ATV mechanic or dealer. They have the expertise and specialized tools to diagnose and address any suspension-related concerns properly.
Finally
Removing the spring from an ATV shock is a delicate process that requires careful preparation and execution. By following the step-by-step guide and taking necessary safety precautions, you can successfully remove and reassemble the spring.
Regular inspection, cleaning, and testing of the ATV’s suspension will help maintain optimal performance and ensure a smooth off-road experience.