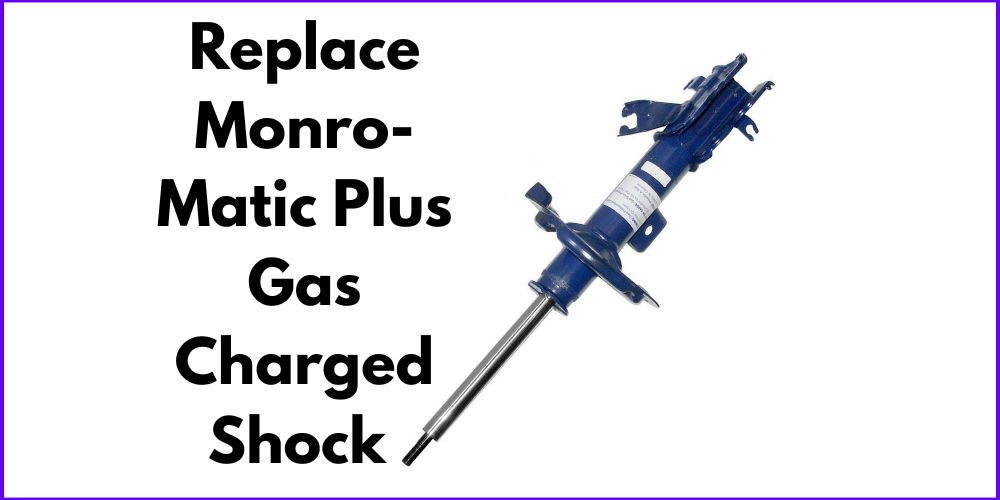
Maintaining a healthy suspension system is vital for the performance and safety of your vehicle. The Monro-Matic Plus gas-charged shock absorber is a reliable choice that provides a smooth ride by absorbing the impact of uneven road surfaces. However, worn-out shock absorbers can compromise handling, stability, tire wear, braking performance, and passenger comfort. In this blog post, we will take a closer look at the importance of maintaining a healthy suspension system and guide you through the process on “how to replace monro-matic plus gas charged shock absorber” to restore optimal performance and ensure a safe and comfortable driving experience.
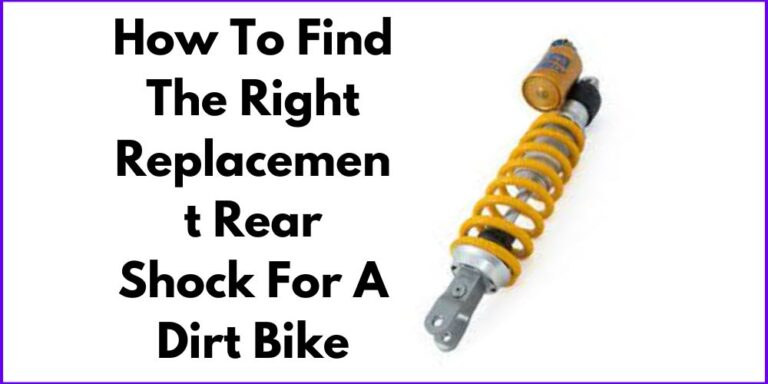
How To Replace Monro-matic Plus Gas Charged Shock Absorber
Preparations
To ensure a smooth and safe shock absorber replacement process, you need to make a few preparations:
- Gather the necessary tools and equipment, such as a socket set, wrenches, a jack, jack stands, and potentially a pry bar or a hammer.
- Park the vehicle on a level surface.
- Securely jack up the vehicle and remove the wheel.
Having the right tools, working on a level surface, and lifting the vehicle securely will set the stage for a successful shock absorber replacement. Now, let’s move on to the next step: Removing the old shock absorber.
Removal of the old shock absorber:
The first step in replacing your old shock absorber with a new Monro-matic Plus gas charged shock absorber is to remove the existing one. Follow these steps for a smooth removal process:
- Locate the shock absorber assembly: Depending on your vehicle’s make and model, the shock absorber assembly can be found either in the front or rear of the vehicle. It is typically connected to the suspension components.
- Disconnect any attached components: Before removing the shock absorber, detach any components that are connected to it, such as brake lines or sway bar links. Take care to label or take pictures of the connections to ensure easy reassembly later.
- Loosen and remove the mounting bolts: Using appropriate tools, loosen and remove the mounting bolts that secure the shock absorber to the suspension. There may be two or three bolts holding it in place. Ensure you have a firm grip on the shock absorber to prevent it from falling while removing the bolts.
- Carefully lower the shock absorber and remove it from the vehicle: Once the mounting bolts are removed, gently lower the shock absorber from its position. Be cautious not to damage any surrounding components during the removal process. Take note of the condition of the old shock absorber for comparison with the new one.
Installing the new shock absorber:
After removing the old shock absorber, it’s time to install the new Monro-matic Plus gas charged shock absorber. Follow these steps to ensure a proper installation:
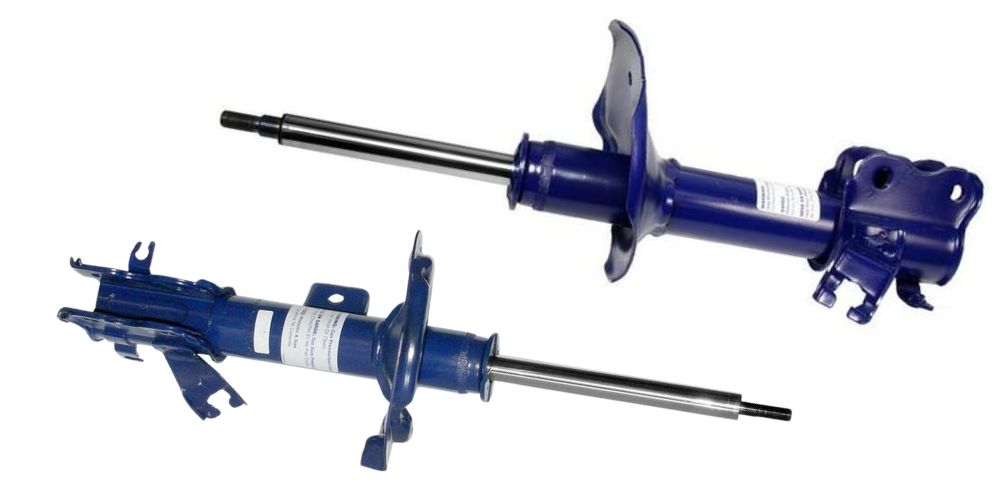
- Compare the new shock absorber with the old one for compatibility: Before installing the new shock absorber, compare it with the old one to ensure they have the same dimensions, mounting style, and other essential features. This step ensures that you have the correct replacement part for your vehicle.
- Position the new shock absorber in place: Carefully position the new shock absorber into the designated area. Align the mounting holes of the shock absorber with those on the suspension system. Double-check that it is securely seated in the correct position.
- Securely tighten the mounting bolts: Once the shock absorber is correctly positioned, insert and tighten the mounting bolts. Ensure that they are securely fastened, but be cautious not to overtighten, as it may damage the components.
- Reconnect any detached components: Now, reconnect any components that were detached earlier, such as brake lines or sway bar links. Use the labels or reference the pictures taken during the removal process to ensure correct reattachment.
By following these steps, you can successfully remove the old shock absorber and install the new Monro-matic Plus gas charged shock absorber. Remember to exercise caution throughout the process and consult your vehicle’s manual or seek professional assistance if needed. In the next section, we will discuss how to test and adjust the newly installed shock absorber for optimal performance.
Testing and adjustment:
After installing the new Monro-matic Plus gas charged shock absorber, lower the vehicle to the ground and repeat the process for any remaining shock absorbers. Test the suspension by gently bouncing the vehicle and observe for any unusual noises or excessive bouncing. These tests help ensure that the shock absorbers are functioning correctly. If you notice any issues, consult a professional to address them promptly for a smoother and safer ride.
FAQs about Monro-matic Plus Gas Charged Shock
How long do gas charged shocks last?
Gas-charged shocks and struts typically degrade after approximately 50,000 miles of use. Testing has shown that original equipment shocks and struts may experience measurable degradation by this mileage. It is generally recommended to replace shocks and struts around the 50,000-mile mark to maintain optimal performance and safety.
Is it OK to drive with worn shock absorbers?
Driving with worn shock absorbers can have several negative consequences. One significant impact is reduced braking efficiency, as worn shocks and struts can affect the performance of your brakes. Your vehicle’s stopping distance may increase, which can be critical in emergency braking situations. Additionally, worn shock absorbers can increase the risk of skidding, especially on wet roads. It is important to replace worn shock absorbers promptly to ensure optimal vehicle handling and safety.
Can gas shock absorbers be repaired?
Yes, leaky gas shock absorbers, also known as dampers, can be repaired. If you notice leakage or other signs of damage in your gas shocks, it is recommended to have them inspected and repaired by a qualified professional. They can evaluate the extent of the damage and determine if repair is a viable option. However, in cases of severe damage or significant wear, replacement may be necessary.
Can I replace shock absorbers myself?
Replacing shock absorbers is a task that can be done at home, but it requires a certain level of familiarity and experience working with vehicles. If you are confident in your skills and have the necessary tools, you can tackle the job. However, if you are not experienced in vehicle repairs, it is recommended to seek professional assistance. Working with suspension components can be complex, and improper installation can compromise the performance and safety of your vehicle. It’s always better to err on the side of caution and ensure the job is done correctly.