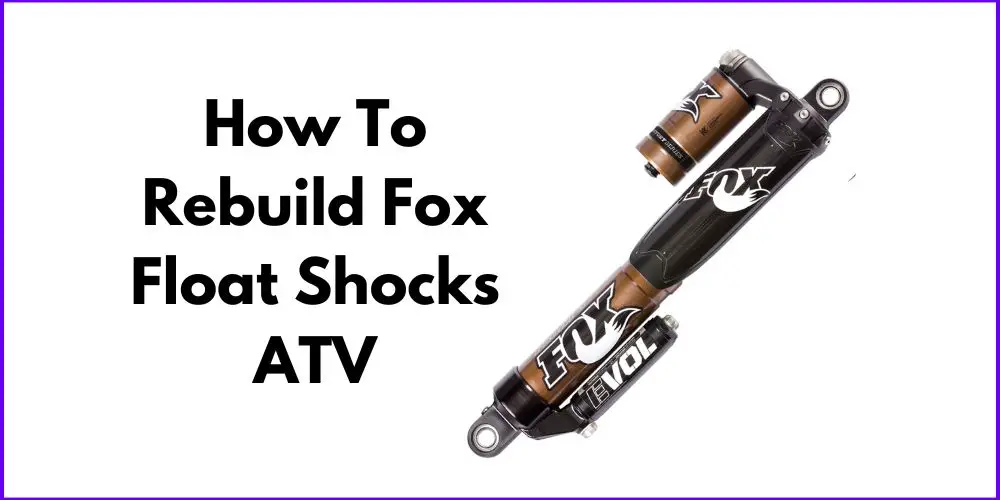
Maintaining the suspension system of your ATV is vital for optimal performance and longevity. One standout option for ATV enthusiasts is the Fox Float shocks, known for their durability and performance. In this blog post, we’ll provide a step-by-step guide on rebuilding Fox Float shocks, helping you save money, extend their lifespan, and enhance your ATV’s performance. Let’s dive into the world of suspension maintenance and discover how to elevate your ATV’s ride.
How To Rebuild Fox Float Shocks ATV
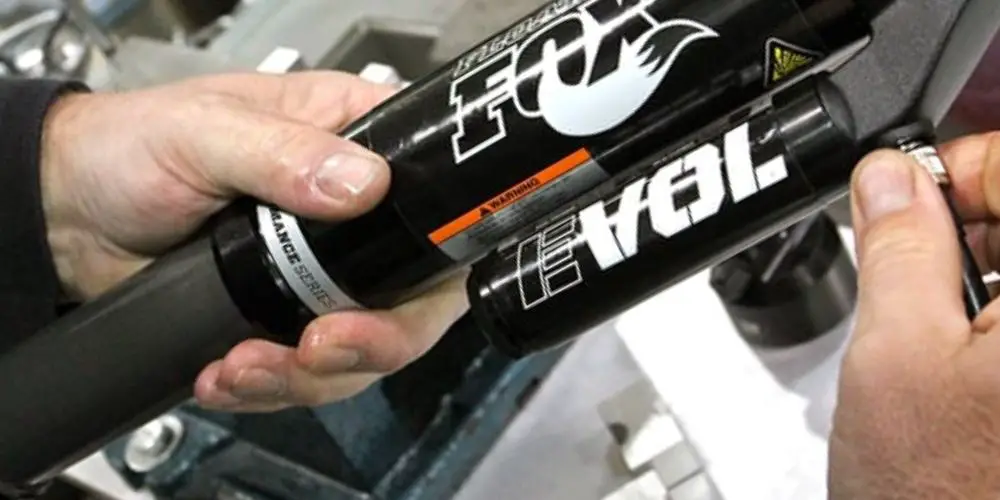
To fully grasp the benefits and importance of maintaining Fox Float shocks, let’s explore their key aspects. These shocks consist of internal components like the air chamber, piston, and seals. They offer advanced features such as adjustable rebound and compression damping, allowing for personalized suspension tuning. Common signs of worn-out or damaged shocks include excessive sag, rough rides, oil leaks, and excessive bouncing. Understanding these aspects will help you maintain and rebuild your Fox Float shocks effectively.
Gathering the Necessary Tools and Parts
Before diving into the process of rebuilding your Fox Float shocks, it’s crucial to gather all the necessary tools and identify the specific parts required for the job. Proper preparation ensures a smooth and efficient rebuilding process. Here’s what you’ll need:
Essential Tools for the Rebuilding Process:
- Shock pump: To adjust air pressure in the shocks accurately.
- Suspension fork oil: Required for lubrication and damping.
- Allen wrench set: For removing bolts and screws.
- Socket set: To loosen and tighten nuts and bolts.
- Needle-nose pliers: Useful for delicate tasks and accessing tight spots.
- Flathead and Phillips screwdrivers: For removing screws and prying components.
- Soft-bristle brush: Ideal for cleaning internal components.
- Rag or towel: To wipe down the shocks and remove excess oil.
When rebuilding your Fox Float shocks, you may need to replace certain worn-out or damaged parts. These can include:
- Seals: Essential for maintaining an airtight and leak-free shock.
- Bushings: Provide smooth movement and prevent metal-on-metal contact.
- O-rings: Help seal the shock chamber and prevent oil leakage.
- Internal floating piston (IFP): Regulates oil flow and damping performance.
- Rebound and compression adjuster knobs: If damaged or worn, they may need replacement.
Preparing for the Rebuild
Before diving into the rebuilding process, it’s important to take certain precautions and perform necessary preparations to ensure a safe and effective outcome. Here’s what you should do:
Precautions and Safety Measures:
- Wear safety goggles and gloves to protect your eyes and hands from debris and potential hazards.
- Work in a well-ventilated area to avoid inhaling any fumes or hazardous substances.
- Use proper lifting equipment or assistance when removing heavy components.
- Follow manufacturer guidelines and consult your ATV’s service manual for specific instructions and safety precautions.
Cleaning the Shocks and Removing them from the ATV:
- Start by cleaning the shocks thoroughly using a soft-bristle brush and a rag or towel. Remove any dirt, grime, or excess oil from the external surfaces.
- Securely lift your ATV using a suitable lifting device or jack stands to ensure stability and safety.
- Follow the specific instructions in your ATV’s service manual to remove the shocks from your vehicle. This typically involves loosening and removing bolts or connectors that secure the shocks in place.
Inspecting Other Suspension Components for Potential Issues: While you have the shocks removed, it’s a good opportunity to inspect other suspension components for potential issues. Look for signs of wear, damage, or loose connections in areas such as the control arms, swingarm, and linkage. Address any concerns or consult a professional if you’re uncertain about any findings.
Disassembling Fox Float Shocks
Now that you’ve prepared for the rebuild and removed the shocks from your ATV, it’s time to disassemble them. Follow these steps:
Step-by-Step Instructions for Disassembling the Shocks:
- Start by depressurizing the air chamber using a shock pump. Unscrew the valve cap and gently release the air.
- Depending on the specific shock model, locate and remove the retaining rings or circlips that secure the shock shaft.
- Carefully slide the shock shaft out of the shock body, taking note of the orientation and position of any washers, spacers, or shims.
- Inspect the disassembled components for signs of wear, damage, or contamination. Clean the components using a suitable solvent and a soft-bristle brush.
Highlighting Critical Points and Precautions during Disassembly:
- Handle the shock components with care to prevent any scratches, dents, or damage that could affect performance.
- Take note of the order and orientation of washers, spacers, and shims to ensure proper reassembly later.
- Use the appropriate tools, such as snap ring pliers, to remove retaining rings or circlips. Apply steady and even pressure to avoid any accidental slips or damage.
Cleaning and Inspecting the Internal Components:
- Clean the internal components, including the shock shaft, piston, and seals, using a suitable solvent and a soft-bristle brush. Ensure all dirt, debris, and old lubricants are removed.
- Inspect the cleaned components for any signs of wear, scoring, or damage. Pay close attention to the seals, O-rings, and piston for any visible wear or leaks.
- Check the shock shaft for any nicks, scratches, or signs of bending. Any significant damage may require replacement or professional servicing.
By following these steps and precautions, you are well on your way to successfully rebuilding your Fox Float shocks. In the next section, we will delve into the process of replacing damaged or worn parts, ensuring your shocks are restored to their optimal condition. Stay tuned for more.
Replacing Damaged or Worn Parts
To ensure optimal performance, it’s important to replace any damaged or worn parts during the rebuilding process of your Fox Float shocks. Here’s what you need to know:
- Common parts that may need replacement include seals, bushings, O-rings, and the internal floating piston (IFP).
- Carefully remove old components and clean the areas where new parts will be installed.
- Install new parts following manufacturer instructions, paying attention to alignment and fitment.
- Use proper torque values when tightening bolts and screws, and apply lubrication as recommended.
Reassembling Fox Float Shocks
Follow these steps for reassembling your shocks:
- Slide the shock shaft back into the shock body, ensuring proper alignment.
- Reinstall washers, spacers, and shims in the correct order and orientation.
- Secure the shock shaft with retaining rings or circlips.
- Torque bolts and screws to specified values and apply suspension fork oil.
Testing and Fine-Tuning
After reassembly, follow these steps:
- Reinstall the shocks on your ATV following the reverse removal process.
- Test the suspension on various terrains, paying attention to responsiveness and comfort.
- Make adjustments to rebound and compression settings for optimal performance.
By replacing worn parts, reassembling properly, and fine-tuning the shocks, your ATV will have improved suspension. In the next section, we’ll provide essential maintenance tips to keep your Fox Float shocks in top condition.
Final Thoughts
All in all, rebuilding Fox Float shocks is a rewarding process for ATV enthusiasts. Recap the essential steps involved: understanding the shocks, gathering tools and parts, disassembling, replacing parts, reassembling, and testing. Proper suspension maintenance is crucial for improved performance and safety. Encourage readers to explore more DIY projects and share their experiences with the ATV community. Get ready to enjoy the satisfaction of a job well done and the thrill of riding with a revitalized suspension system.

