Setting the sag on a vintage twin-shock dirt bike is crucial for optimal performance and handling. Weight differences among riders can significantly impact the bike’s behavior. In this blog post, we’ll explore “how to set sag on vintage twin shock dirt bike” the importance of sag adjustment, and how it affects bike handling. By understanding and setting sag correctly, you can fine-tune your bike’s suspension to match your weight, enhancing performance and overall riding experience. Let’s dive into the world of sag adjustment and discover how it can transform your vintage twin-shock dirt bike.
How To Set Sag On Vintage Twin Shock Dirt Bike
Sag is a vital aspect of the suspension setup for your vintage twin-shock dirt bike. It refers to the suspension’s travel used when the bike settles under the rider’s weight. There are two types of sag: rider sag (with the rider on the bike) and free stag or static sag (without the rider). Incorrect sag can significantly impact bike handling.
Too much sag, also known as “too soft,” reduces steering response and stability. The bike may feel lazy and prone to squatting, affecting cornering. Conversely, too little sag, or “too stiff,” results in quick and nervous steering, making the bike feel unstable and aggressive.
Finding the right balance of sag is crucial for optimal handling. Ideal sag measurements vary based on the bike and rider preferences. In the next section, we’ll discuss the practical steps to adjust sag and fine-tune your bike’s suspension for improved performance.
Tools Needed:
Before diving into the process of setting rider sag on your vintage twin-shock dirt bike, it’s important to gather the necessary tools. Here are the tools you’ll need:
- Tape measure or sag scale: Use a tape measure to measure the sag on your bike accurately. Alternatively, a sag scale can simplify the process by eliminating manual calculations.
- Hammer and punch (for Japanese dirt bikes): If you have a Japanese dirt bike, a hammer, and punch will be necessary to adjust the spring tension. These tools help move the spring adjuster for achieving the desired sag setting.
- Correct size Allen and punch (for European bikes): For European dirt bikes have a correct size Allen wrench and a punch on hand. These tools are used to adjust the spring preload by loosening the preload adjustment clamp.
Setting Rider Sag: Step-by-Step Instructions
Now that you have the required tools, it’s time to proceed with setting the rider sag on your vintage twin-shock dirt bike. Follow these step-by-step instructions:
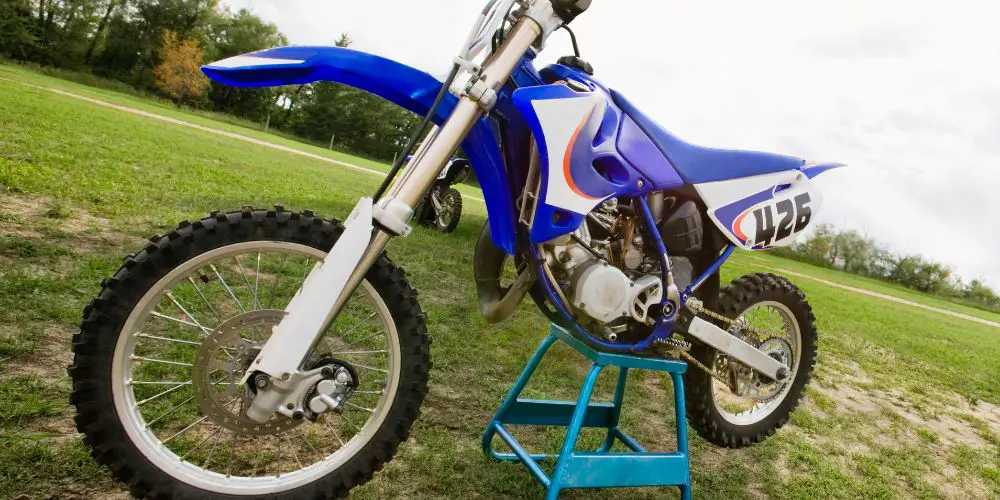
Step 1: Positioning the bike on a stand
-
- Place your bike on a sturdy stand to ensure stability and make it easier to take measurements.
Step 2: Measuring the distance between rear axle and rear fender
-
- Use your tape measure or sag scale to measure the distance between a specific spot on the rear axle and the rear fender.
- Make a note of this measurement, as it will serve as a reference for later comparisons.
Step 3: Sitting on the bike in a neutral position
-
- With the bike on the ground, have someone hold it steady for you.
- Sit on the bike in a neutral spot on the seat, ensuring you’re not too far forward or too far back.
- Wear all your riding gear, including your helmet, chest protector, backpack, or any other gear you typically use.
Step 4: Finding the settling point and measuring the sag
-
- Give the bike a couple of bounces to find its settling point.
- Once it settles, have someone measure the distance between the two points you previously marked.
- This measurement represents the sag with the rider on the bike, also known as rider sag.
Step 5: Ideal sag measurements and adjustments
-
- Check your bike’s manual for the recommended sag measurements. Typically, you want the sag to be around 100 millimeters, but specific models may have different guidelines.
- Compare your measured rider sag to the recommended sag measurement.
- If the sag is too much (over 100mm), you’ll need to add more spring tension or preload. If it’s too little (less than 100mm), you’ll require less preload.
- Loosen the spring preload locker (jamb nut for Japanese models, clamp for European bikes) and adjust the preload accordingly. Each full rotation usually changes the sag by about 2 or 3 millimeters.
- After making adjustments, measure the rider sag again to ensure it falls within the desired range.
Step 6: Fine-tuning sag for different handling characteristics
-
- Once you have the rider sag set correctly, you can fine-tune the sag to achieve different handling characteristics.
- More sag can provide better stability off-road, while less sag can result in quicker handling on the track.
- Even small adjustments of just 5 millimeters can make a noticeable difference in how the bike handles.
By following these step-by-step instructions and utilizing the necessary tools, you’ll be able to set the rider sag on your vintage twin-shock dirt bike accurately. This step is crucial for achieving optimal suspension performance and handling. Next, we’ll explore how to check and adjust the static sag to ensure the proper spring rate for your bike.
Adjusting Spring Preload:
Once you have measured the rider sag and determined whether it needs to be adjusted, it’s time to fine-tune the sag by adjusting the spring preload. The spring preload determines the initial tension on the suspension spring and directly affects the sag.
- Loosening the spring preload locker: For Japanese dirt bikes, you’ll need a hammer and punch, while European bikes require a correct size Allen key and a punch. Locate the spring preload locker, which is typically a jamb nut or a clamp. Loosen it to allow adjustments to the spring tension.
- Adding or reducing spring tension to adjust sag: To increase sag, add more spring tension by tightening the preload adjuster. Each full rotation usually changes the sag by about 2 or 3 millimeters. Conversely, to decrease sag, reduce spring tension by loosening the preload adjuster.
- Measuring rider sag again after adjustment: Once you’ve made the necessary spring preload adjustments, repeat the process of measuring the rider sag. Sit on the bike in a neutral position while someone measures the distance between the same points as before. Compare the new measurement to the desired sag value.
Checking Static Sag:
In addition to adjusting the rider sag, it’s essential to check the static sag. The static sag represents how much the suspension compresses under the weight of the bike alone and helps determine if the spring rate is appropriate.
- Balancing the bike off the stand: Carefully balance the bike off the stand, ensuring it remains stable and upright. This can be done with the help of a friend or using a paddock stand if available.
- Measuring the distance between the same points: With the bike balanced, measure the distance between the rear axle and the rear fender, using the same reference points as before.
- Determining if the spring rate is appropriate: Compare the measurement with the bike on the stand to the desired range for static sag, which is typically between 30 and 50 millimeters. If the measurement falls within this range, the spring rate is likely appropriate. However, if it deviates significantly, it may indicate the need for a stiffer or softer spring.
Finalizing Sag Settings:
After adjusting the rider sag and confirming the static sag, it’s time to finalize the sag settings to ensure optimal performance.
- Adjusting the preload adjustment locker: Once both the rider sag and static sag are within the desired ranges, tighten the preload adjustment locker. This will secure the spring preload in its adjusted position.
- Verifying rider sag and static sag measurements: Double-check the rider sag and static sag measurements one last time to ensure they remain within the desired ranges after tightening the preload adjustment locker.
By following these steps and fine-tuning your sag settings, you can optimize the performance and handling of your vintage twin-shock dirt bike. Achieving the proper sag will provide you with a more personalized riding experience that matches your weight and preferences.